The Ultimate Smile Makeover Experience! Where Custom Smiles are Created™
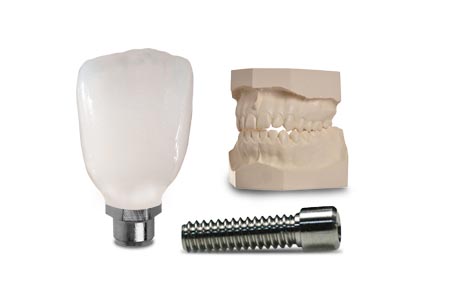
TI-Base Screw Retain Crowns
Use manufacturer’s tooling to remove healing cap. For multiple units, start in the posterior and work toward anterior. Then, use manufacturer’s tooling to place transfer coping. Ensure components are fully engaged before tightening screw.
Take an X-ray to verify proper seating of components. Next, ensure transfer coping does not hit tray. Use heavy body polyvinylsiloxane impression material. Record impression. Finally, when impression tray is removed, the transfer coping stays in the mouth. Remove transfer coping and replace healing cap.
For multiple units, start in anterior and work toward posterior. Check fit of impression coping into impression. Send to lab.
Seat abutment. Torque screw into place per manufacturer’s recommendations. Next, use composite to fill over the implant screw.
Cement restoration over implant with a resin-reinforced ionomer (i.e., RelyX, 3M ESPE).
- D6057 Implant Abutments

